-
How to Protect WordPress Admin Login
Read more: How to Protect WordPress Admin LoginIn this simple to use technique we see how to protect WordPress Admin login from web attacks using mod_rewrite rules to block all IPs except the real admin.

-
Simple DNS Guide for cPanel Web Hosting Service
Read more: Simple DNS Guide for cPanel Web Hosting ServiceThis is a Simple DNS Guide for cPanel Web Hosting Service customers. It explains how you can modify DNS record to move email or website across servers.

-
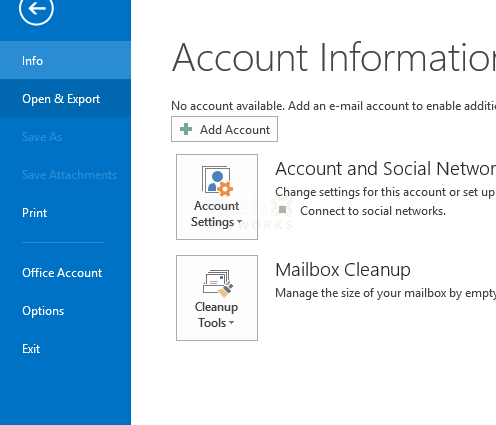
Email Settings in Outlook
Read more: Email Settings in OutlookThis explains the cPanel email settings in Outlook to send and receive email securely using web hosting service.
-
Disk Usage in cPanel
Read more: Disk Usage in cPanelHow to check disk usage in cPanel for your web hosting account, and figure out which files or folders are taking up the space.

-
File Manager in cPanel
Read more: File Manager in cPanelFile manager allows you to manage and edit the files inside the cPanel interface using browser without the need to use any special file editing software.

-
Taking Backups of Web Hosting Account in cPanel
Read more: Taking Backups of Web Hosting Account in cPanelStep by step guide on how to take backup of your important files in the hosting account. This can help avoid data loss and recover files from the backup.

-
MX Record for Your Email in cPanel
Read more: MX Record for Your Email in cPanelYou can manage your Mail Exchanger i.e. MX Record when hosting with cPanel. In this tutorial we explain how to make changes so you can avoid lost emails.

-
DKIM and SPF – Email Deliverabiltiy in cPanel
Read more: DKIM and SPF – Email Deliverabiltiy in cPanelIn a web hosting account, you can enable DKIM and SPF for your domain to add authentication for your outgoing email.

-
How to Check Email Delivery
Read more: How to Check Email DeliveryIn cPanel web hosting, there is a feature called Email Trace to check the delivery of email from and to your email account.

-
Fighting Email Spam with SpamAssassin
Read more: Fighting Email Spam with SpamAssassinSpamAssassin provides email filtering to identify spam messages. This tutorial walks you through using SpamAssassin in a cPanel Web Hosting account.
